How to install osquery and enroll Windows devices into Fleet
{{articleSubtitle}}
Kelvin Omereshone
How to install osquery and enroll Windows devices into Fleet
{{articleSubtitle}}
Kelvin Omereshone
How to install osquery and enroll Windows devices into Fleet
Archived While still usable, this guide has not been updated recently. See the Enroll hosts guide.
Here, we will cover enrolling Windows devices to an existing Fleet server. If you don’t have a Fleet server configured already, check out Deploying Fleet on Render. If you’re still getting to know Fleet and would like to skip the server setup process and try Fleet, you can run Fleet in a preview environment.
Prerequisites
- Access to an existing Fleet server
- The
fleetctlcommand line tool
If you don’t already have it, fleetctl can be installed via npm by running the following command:
npm i -g fleetctlAfter the above command has run successfully, you can confirm that you now have the fleetctl CLI tool by running:
fleetctl --versionThe above command should return an output similar to the example below:
fleetctl.exe - version 4.8.0
  branch:  HEAD
  revision:  09654d77eedbf9ed181bc8188a3d2be0324b29a5
  build date:  2021-12-31
  build user:  runner
go version: go1.17.2Installing osquery
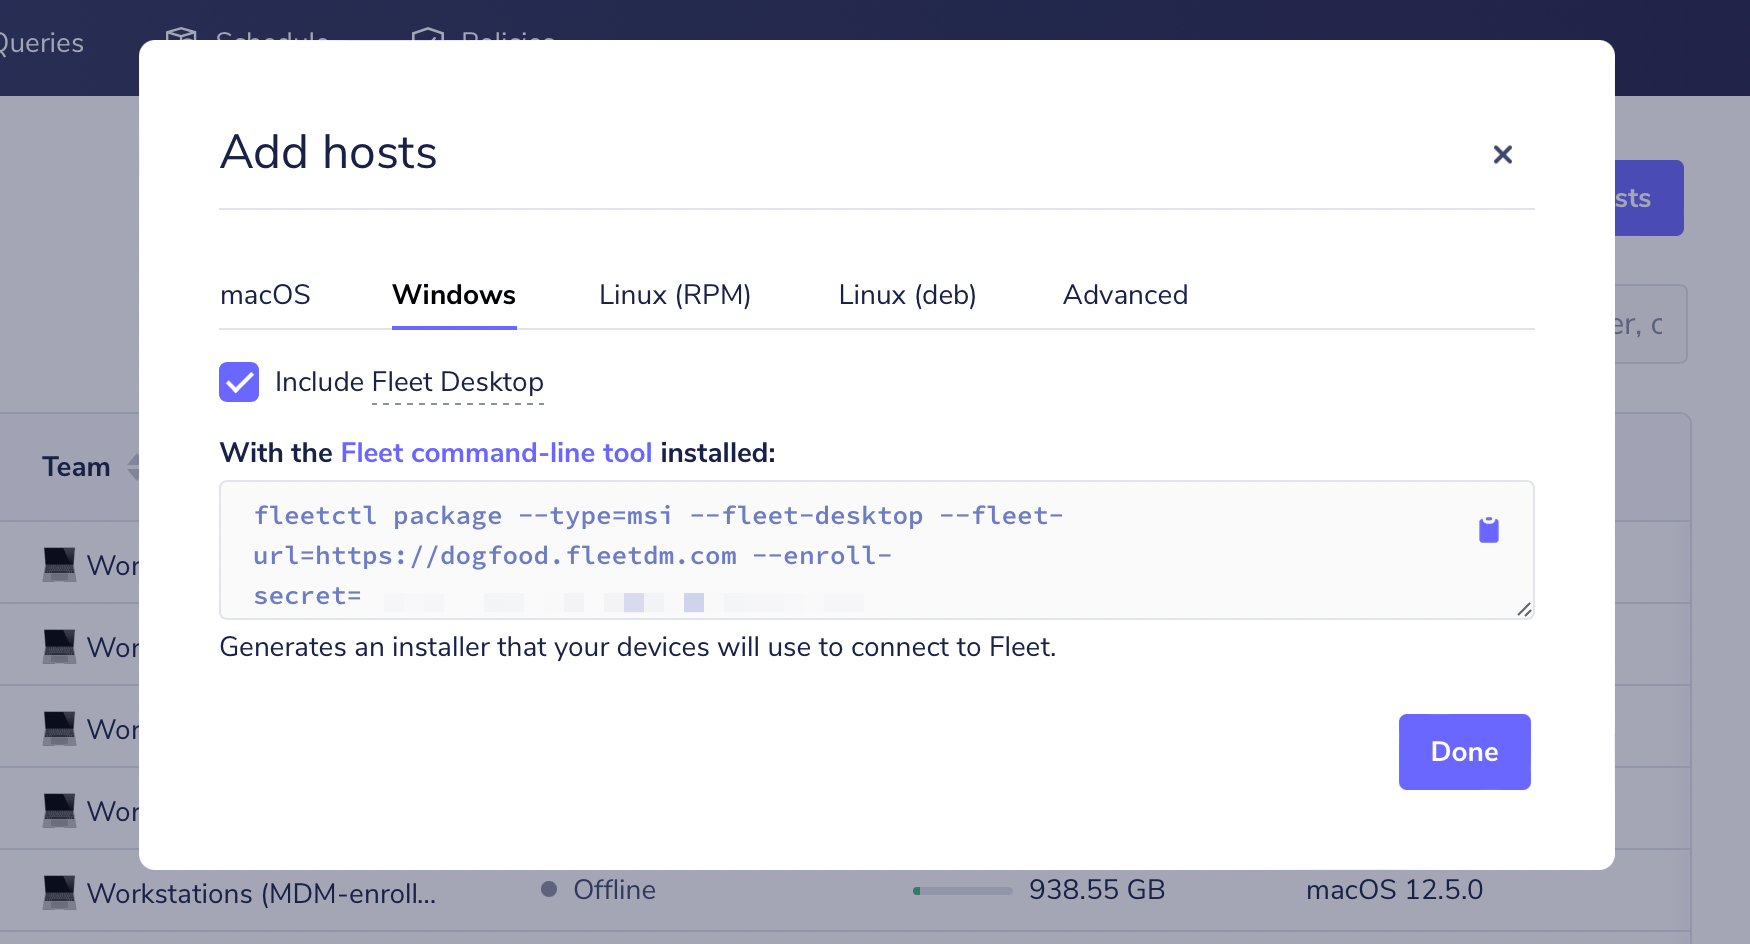
Head over to the Hosts page on Fleet and click on the “Add hosts” button, which will present a pop-up that allows you to choose the type of installer you want to generate. Make sure you are on the “Windows” tab and click on the clipboard icon.
 Windows osquery Installer command on Fleet UI
Next, head over to your Windows command prompt (making sure that you are running with administrator privilege and Docker is running), paste the copied command, and then hit enter.
Once fleetctl has finished creating your osquery installer, it will produce an installer file called fleet-osquery.msi in your current directory and display instructions on how to proceed.
Running the installer
Double-click the installer and follow the guided steps to successfully install osquery on your Windows device and enroll it into Fleet!
Deploying at scale?
If you’re managing an enterprise environment, you will likely have a deployment tool like Munki, Jamf Pro, Chef, Ansible, or Puppet to deliver software to your devices. You can distribute your osquery installer and add all your devices to Fleet using your software management tool of choice.


